Create your sanctuary… It should be peaceful and beautiful…

IMG_3773.JPG

I won a contest at the local nursery for my pots. I was elated! I have never won anything like that before. I’m a total do it yourselfer, long before there was Internet to tell us how to do some of these things. Needless to say it was hit and miss. Now with Pinterest and blogs and YouTube you can learn to do anything! I’m jumping in there and sharing what I know. Enjoy my blog!

IMG_3422.PNG

terra cotta like, lightweight planters weighted down with rocks in the bottoms, geraniums, 3 colors of cascading petunias, bacopa, and creeping Jenny. 


IMG_3423.PNG

Jasmine with cascading petunias in large lightweight terra cotta like pots placed near the door- smells heavenly on a warm summer night when the doors are open…

IMG_3771.JPG

They are in full sun on a large cement patio and must be watered daily even here in the northwest. We just tell people it rains all the time 😉

Time to make vanilla extract…

Make it now and it will be ready for the holidays as gifts and for your baking. I get my vanilla beans from beanilla.com , they have excellent quality and you can buy in bulk. This year however the price of vanilla beans has gone up so I did not make as much as I usually do. They suggest 7 vanilla beans per 8 ounces of vodka. 
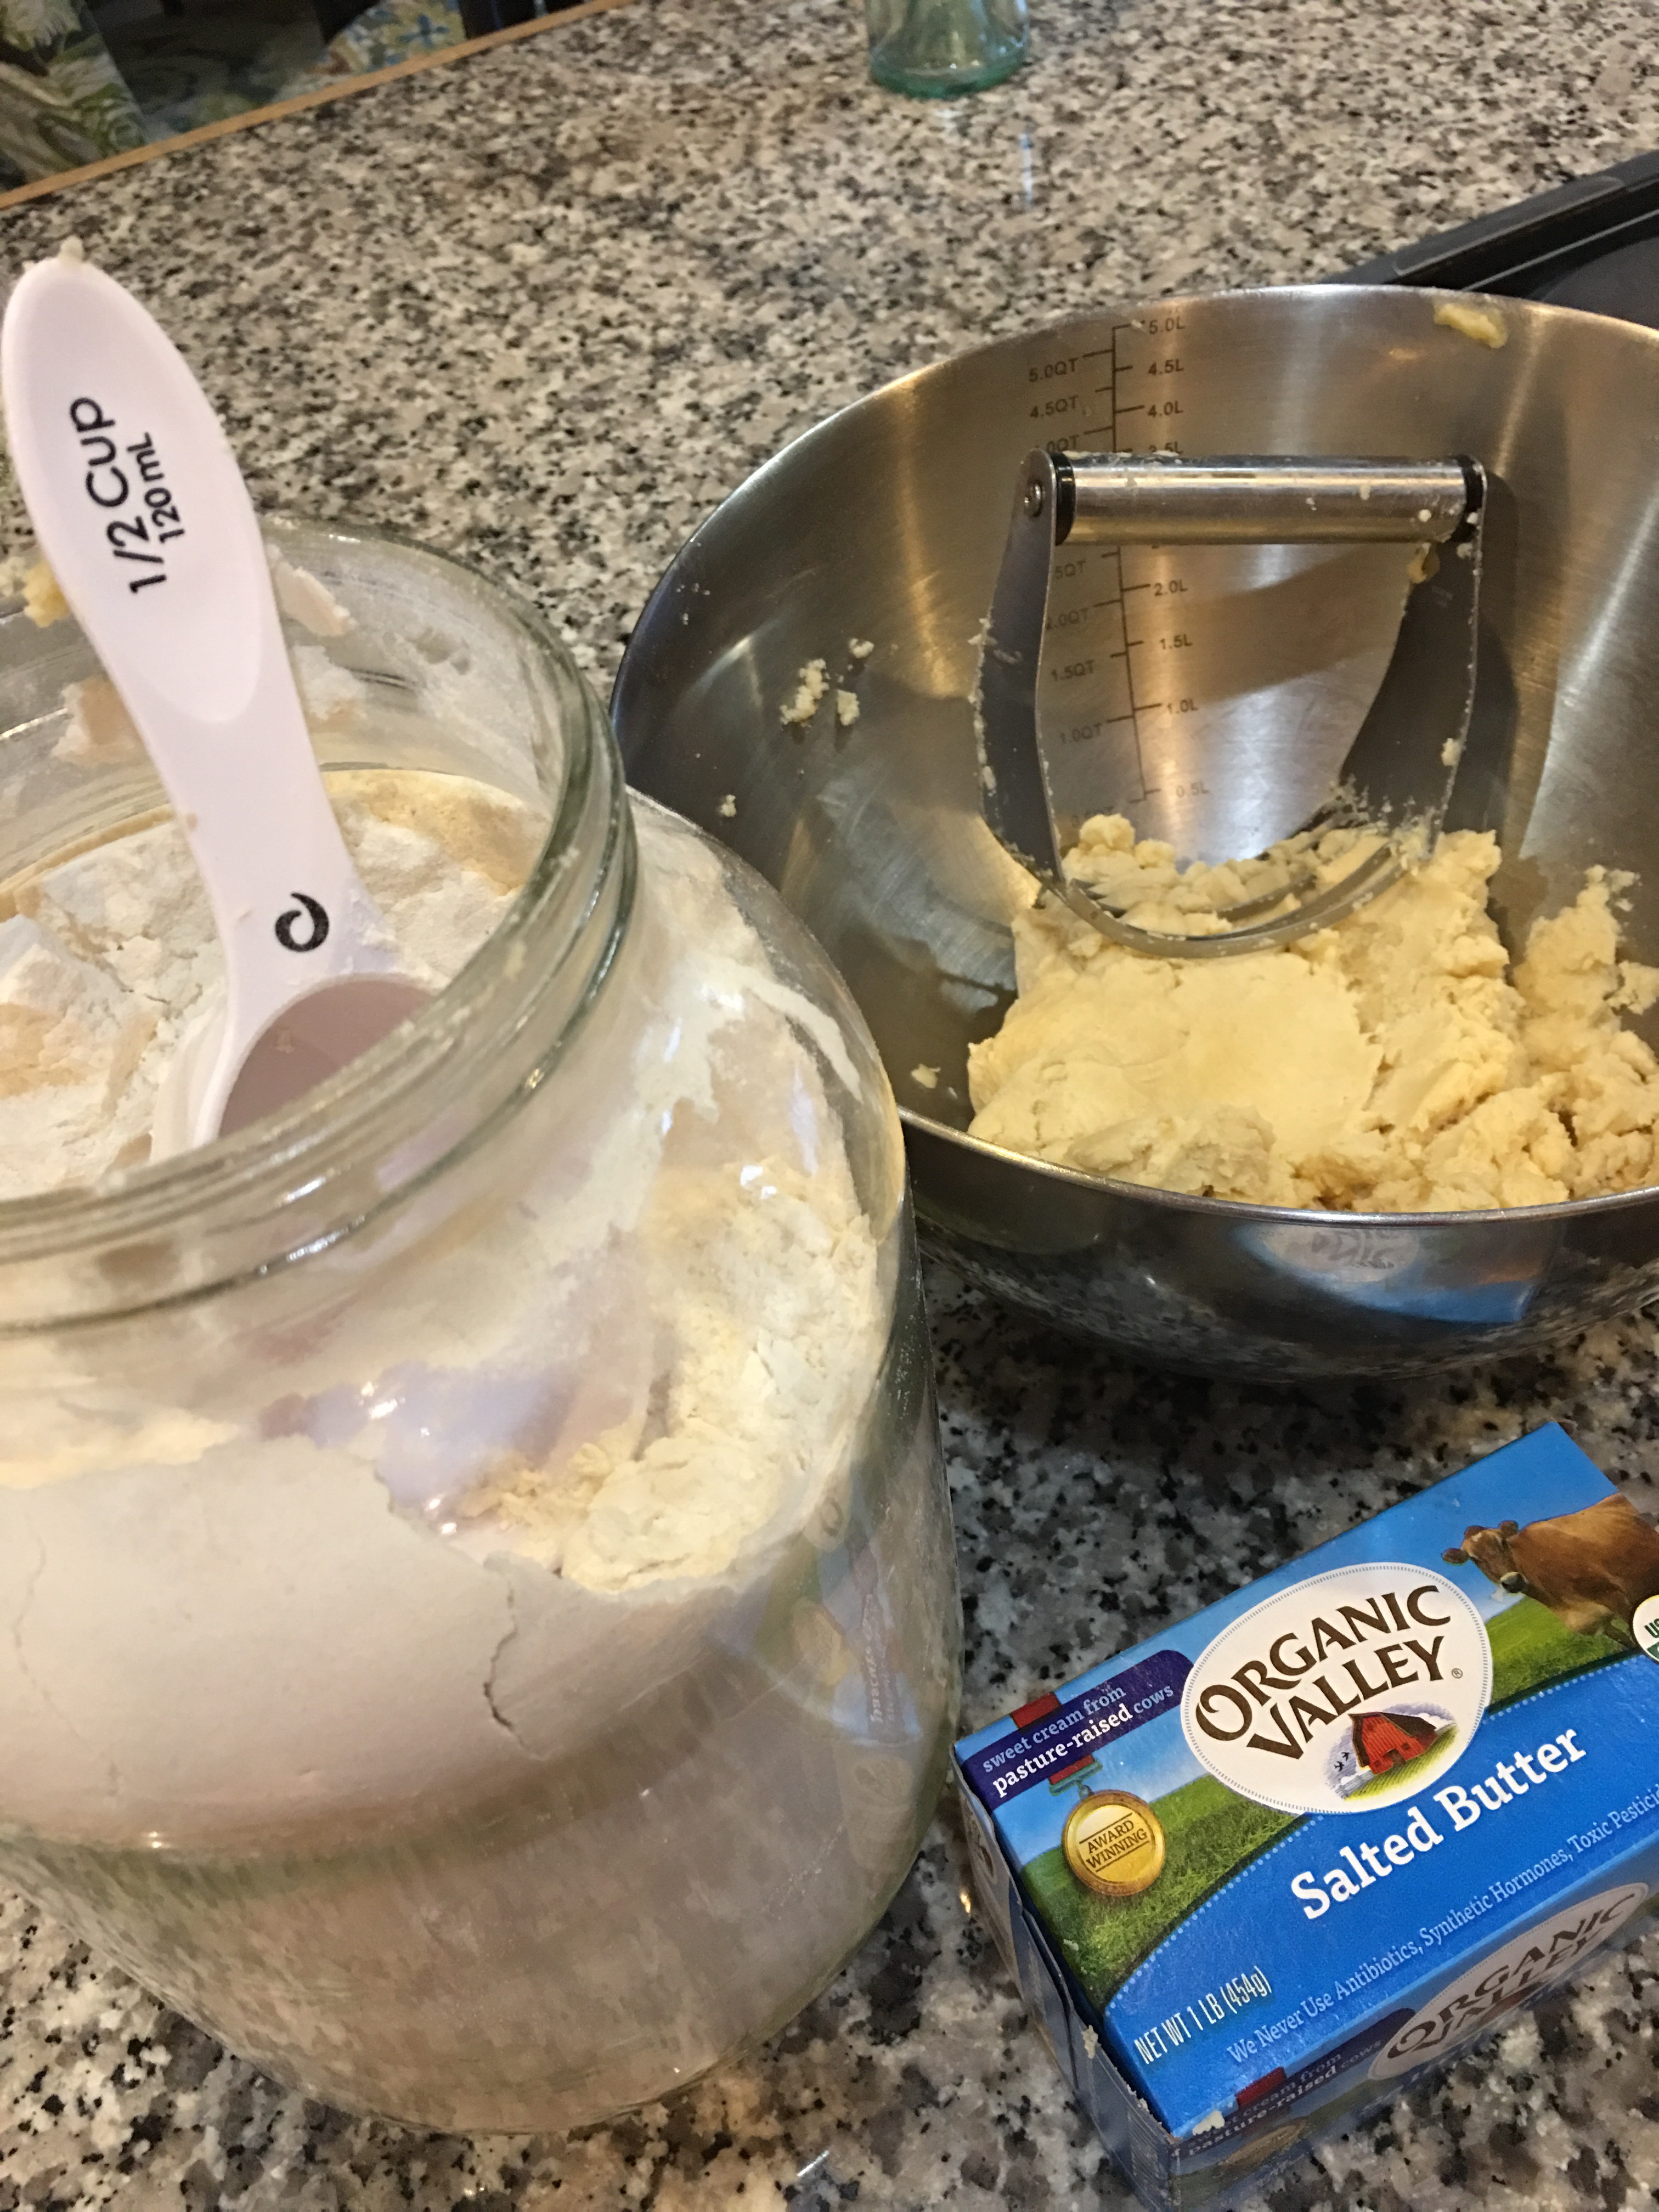
I save an assortment of bottles for this project you can also buy some decorative ones at World Market. With a sharp knife split the vanilla Bean. You can also cut them to fit your bottles. Fill your bottles with vodka and make sure you shake them every day. It should be ready in 6 to 8 weeks. Note: When you have used all your vanilla extract, take the beans and place them in a jar with sugar and you will have vanilla sugar, it’s fantastic in any baked goods.
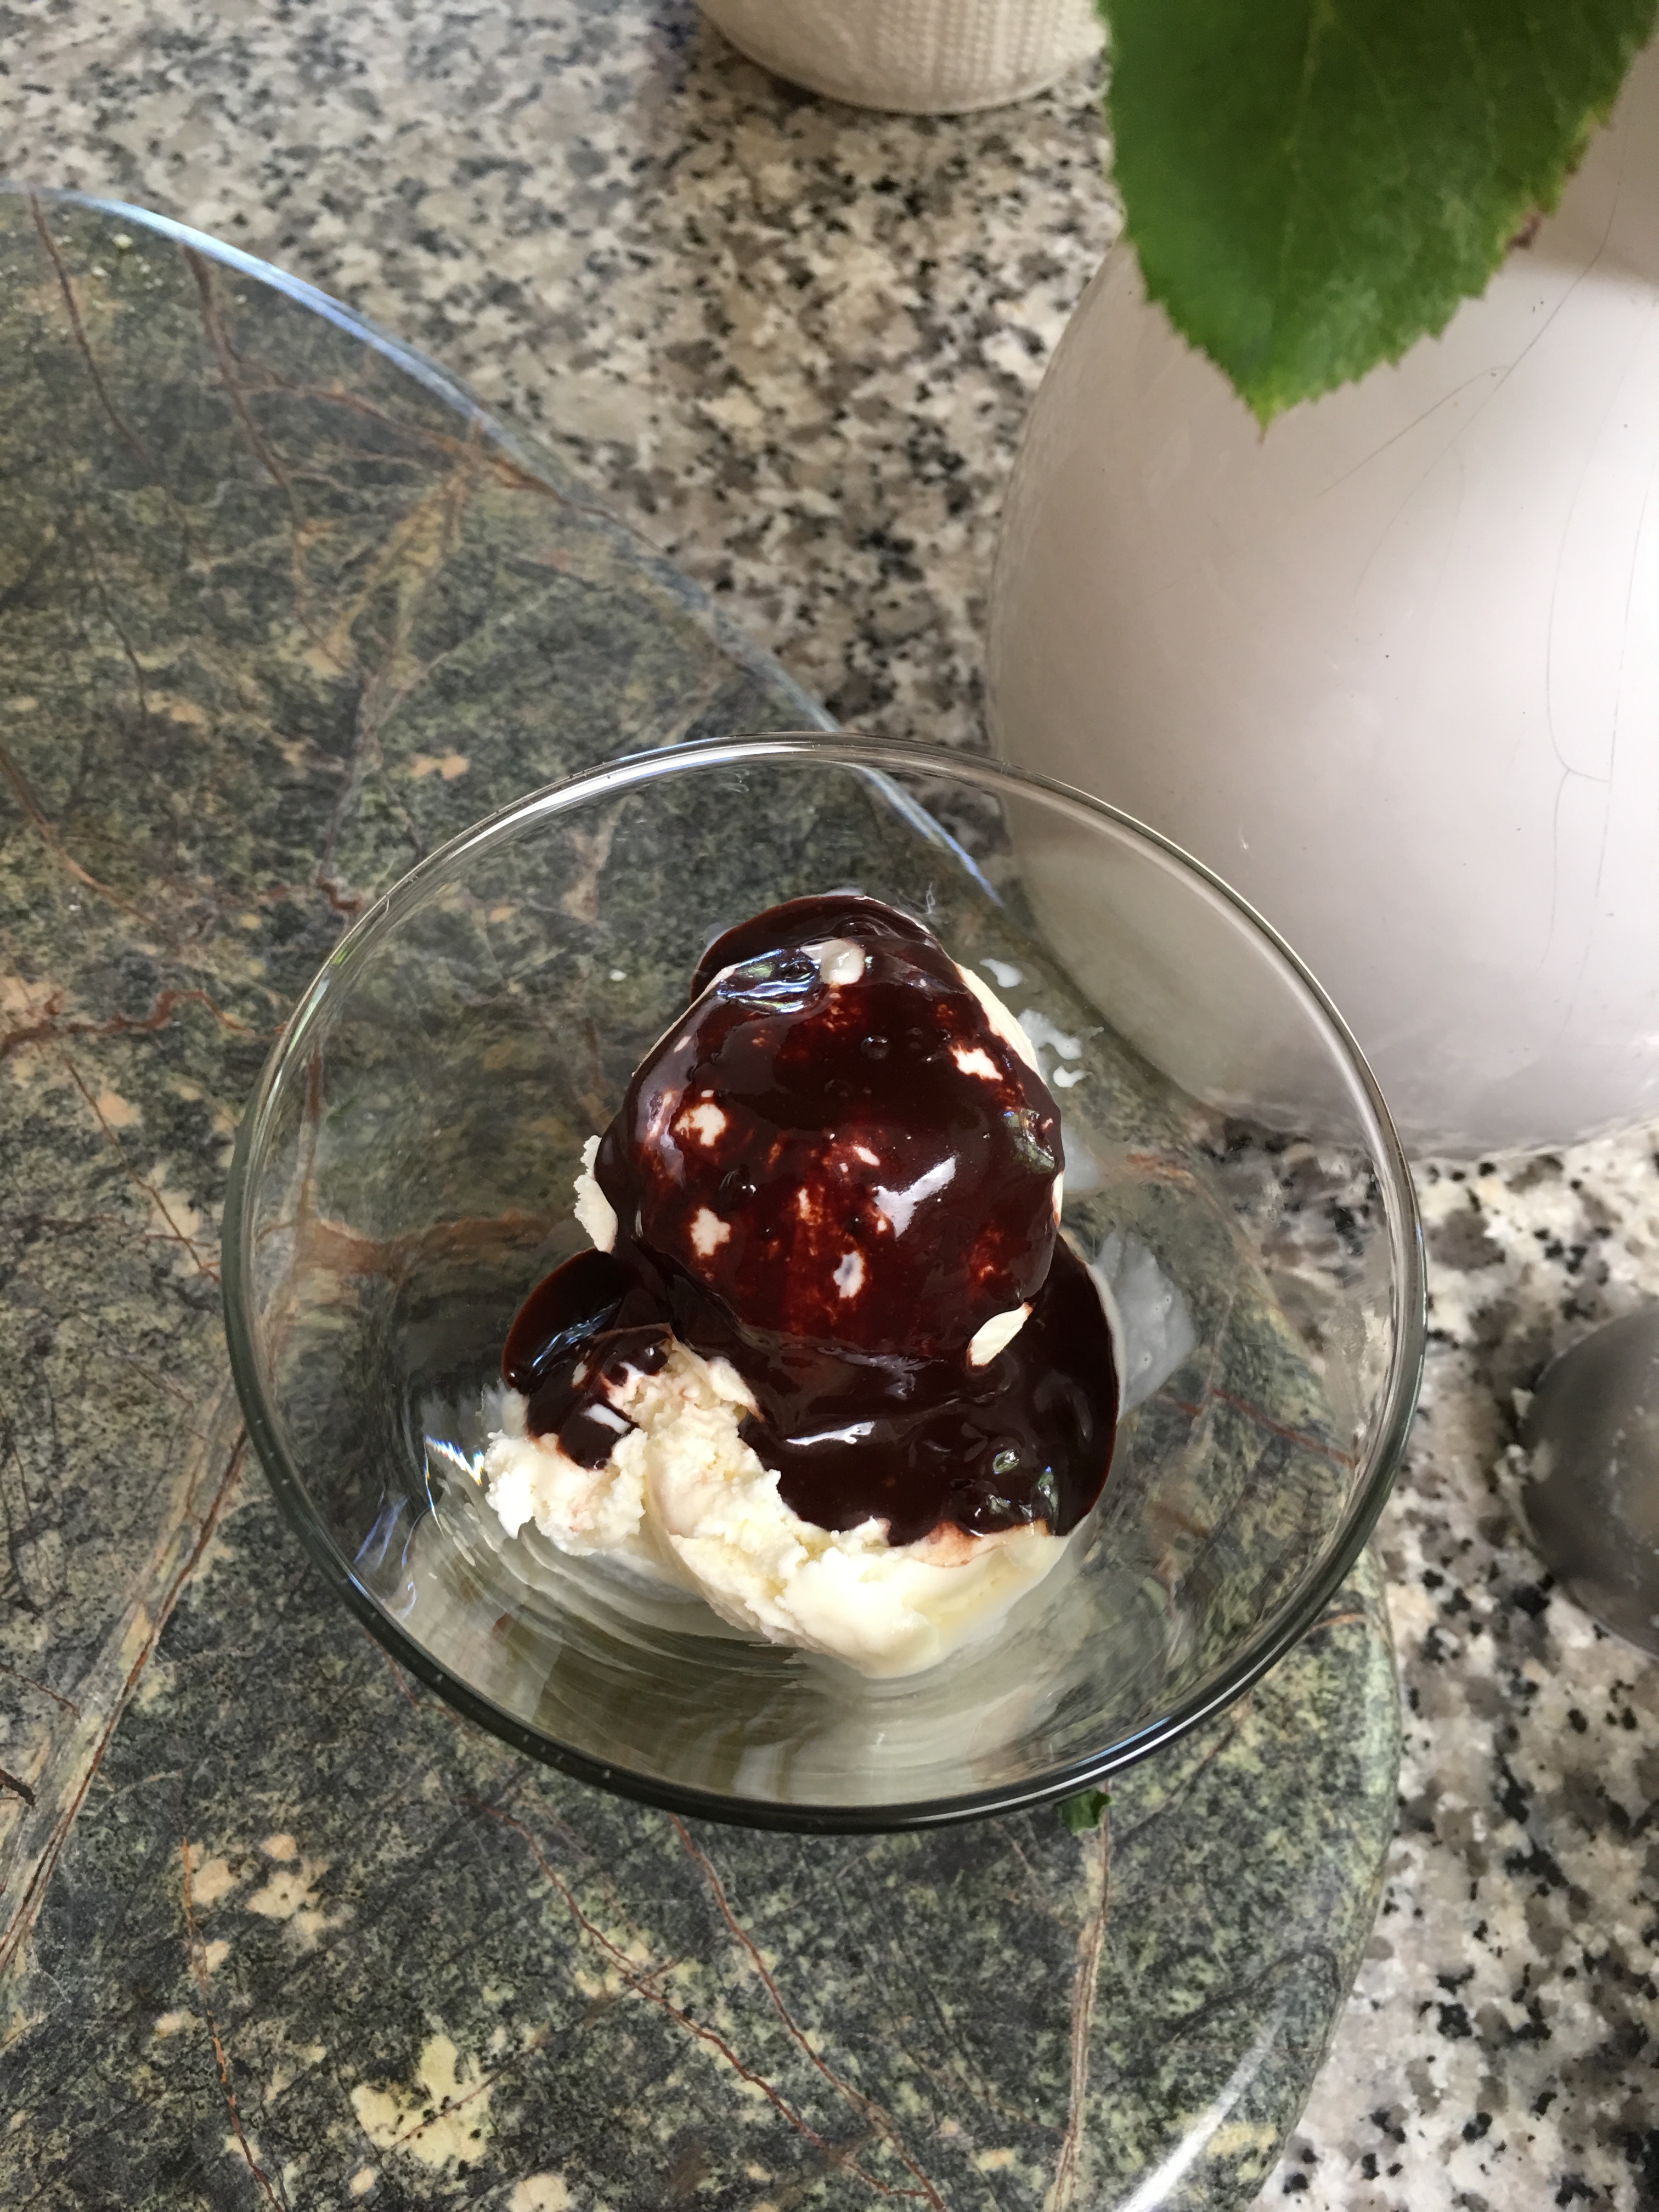
Time for a P.I.E. contest!!

Time for pie… why not have a pie bake off?

This year will be our 11th annual pie tasting contest with friends and neighbors. Every year on the third weekend in August when the berries are ripe and everyone is due for another feasting celebration we have a pie contest. Contestants take it very seriously. We have old family recipes,  experimental pies, and something one contestant calls a “yurt”- not sure what’s in that one but it’s about a foot high and packed with who knows what. There’s a trophy and second and third prizes for three different categories; “berries” , “fruit” and “other”.

Judges are reputable members of the pie eating community. ( P. I. E. stands for Pie Ingesting  Enthusiasts we’re on Facebook ) There are strict rules; You must love pie, judges cannot be an entrant or related to one and pies have to be homemade of course. So we don’t feel guilty eating all that pie we also make this a food drive for the food bank.

It’s a very easy event to do. You supply the utensils, decor, beverages, and ice cream.

Purchase a trophy and second place ribbons from http://www.crownawards.com they have pie inserts. Each pie is given a number so the bakers remain anonymous. There are three categories; berry, fruit and other.  Judges are given a scoresheet to judge on crust, flavor, and overall, with ratings from 1 to 5. Each judge gets one bite of pie. We add up the numbers and the winners are the ones with the highest scores. There is never a shortage of judges!

IMG_4198

The Eclipse pie

IMG_4192

Raspberry pie with white chocolate leaves

IMG_4161 3

One more thing to do with all that zucchini….

Zucchini Curry Paddies:

2 cups of grated zucchini

1/2 cup or less grated red onion

one egg

1/2 cup whole wheat flour

1/4 cup olive oil

salt and pepper and curry to taste

form into paddies fry on the stovetop a small amount of olive oil.

A true olive oil afficionado will not use it for frying because high heat affects  the taste, however I do. 

Rhubarb!!!

       It can get HUGE if it likes it’s place in the garden. For information on all the benefits check out this website: https://draxe.com/rhubarb/. I have made at least 1000 rhubarb pies here’s the process:

1. Pull from the root, cut and trim, discard the leaves!

2. Wash, cut into half inch to 1 inch chunks, put in a large bowl and add enough sugar to coat each piece sufficiently, for instance 5 cups of cut up rhubarb add 2 cups of sugar. Then SOAK OVERNIGHT in the refrigerator to draw out the juices, you can save the juice for sorbet or as liquid for baking.

3. The next day make your crust. For 9 x 13 bottomless: 2 sticks of cold butter, 1 teaspoon of sugar, 1 teaspoon of salt, 1 1/4 cups all purpose flour, enough ice water- 6 to 8 tablespoons and a dash of vanilla extract- until it forms a crumbly mixture. Add enough liquid until it holds together and you can roll it out on a floured surface, the size of your pan, I use a glass dish, cut out shapes for decorations to place on top.


4. Prepare for baking; heat oven to 425, I use a 9X13 glass dish. You could lightly spray with no-stick or melt a little butter but not necessary. Add prepared Rhubarb, at this point you may need to add more sugar to your taste. Place your rolled out crust over Rhubarb. Place any cut out dough decor on top. *Bottomless is better, soggy bottoms are not eaten…


5. Brush your crust with cream, or milk, actually I’ve used anything white; sour cream, yogurt and yes I’ve even used mayonaise…BAKE at 425 for 15 minutes , then TURN DOWN TO 350 for 45 to 50 more minutes.

6. Serve hot with vanilla ice cream or cold the next day with coffee… enjoy.


Everything grows in an earth box….

Available on Amazon.com I buy a new one every three or four years. The kit comes complete with everything except some good potting soil and your plants. The plants suck the water up from the bottom so you water from a tube on the side. 

Six weeks ago these three tomato plants were spindly 12 inch starts in a 4 inch pot. 

My sister-in-law said she could’ve sworn she saw Tarzan in there… Sure enough there he was…